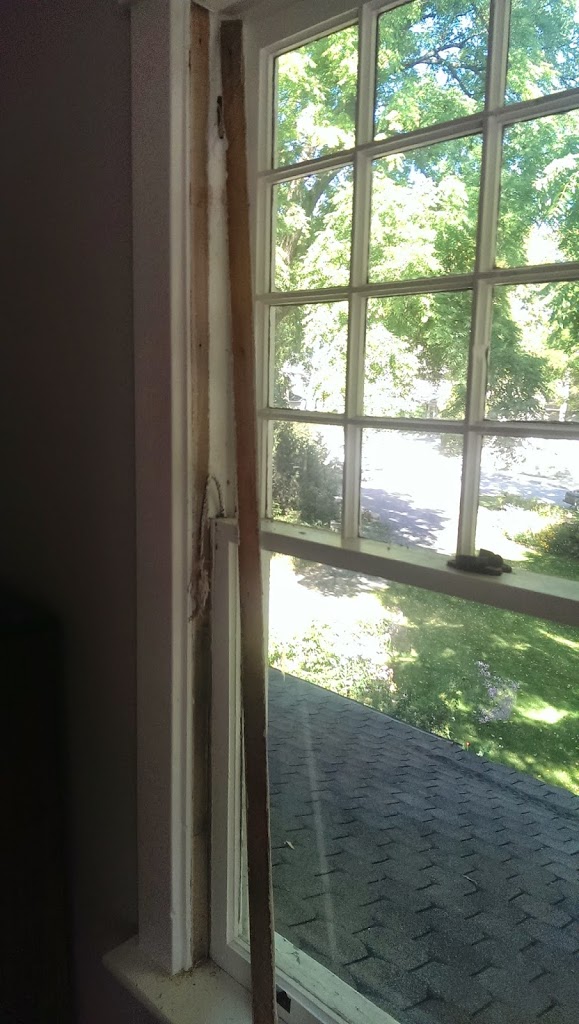
Removing the Stop
Removing the Stop is not difficult, you can be quite ham-fisted and you’ll remove it successfully. More importantly though, you’ll need to remove the Stop with an eye to replacing it later completely intact as you are finishing the job. It is the most delicate of the wooden pieces you will be removing and most prone to breaking in my experience. If you’d like to take a 2 hour job (which this entire process is) and turn it into a 2 day or 2 week job – rush this part, break the stop and then attempt to source a stop that is precisely the same profile as the rest of the trim and stops in your house. This is definitely the slow and careful part of the job. However, just having laid the warnings on pretty thickly, I’d also offer that this is also a quite straight forward part of the job and good way to get started.
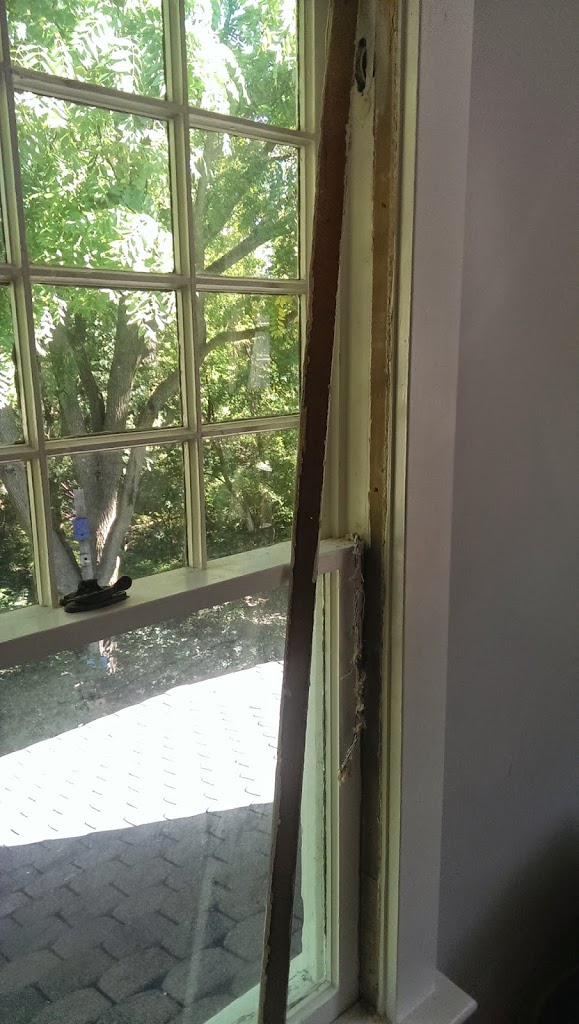
Closeups – Removing the Stop
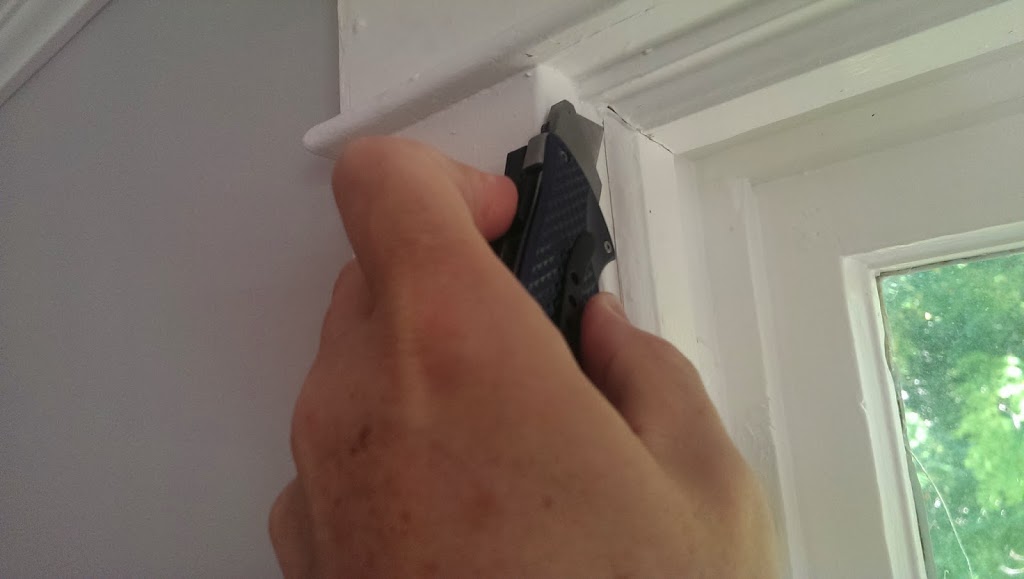 |
Using a strong box cutter break the paint seal between the stop and the window trim at the top of the stop strip of wood. |
 |
Break the paint seal between the vertical stop and the bottom horizontal stop. |
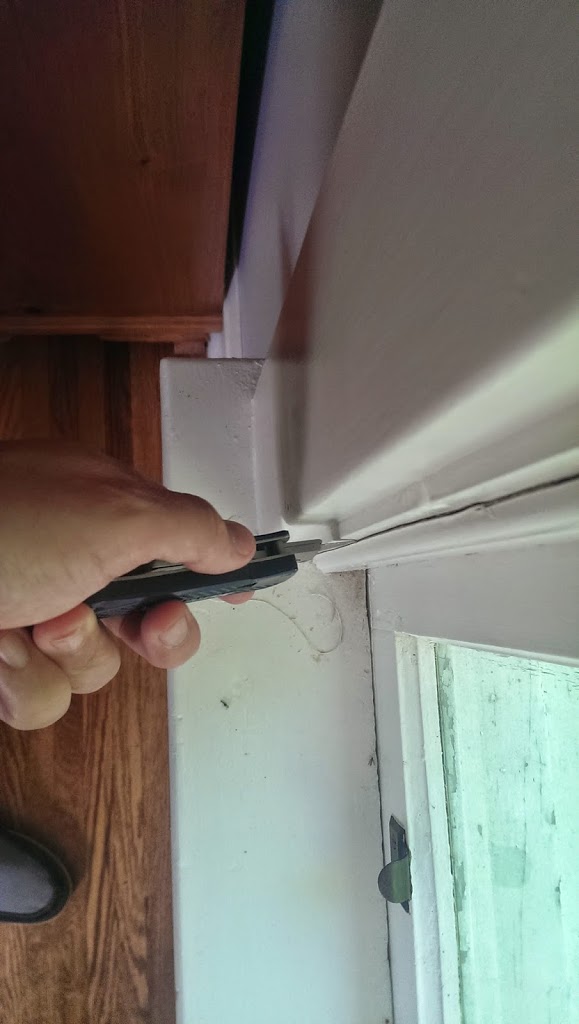 |
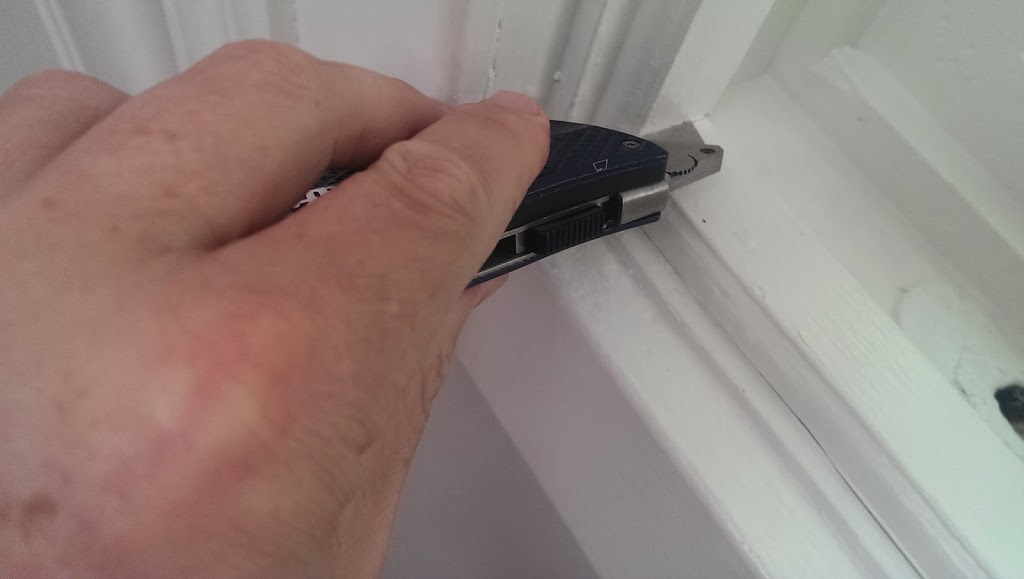
Break the paint seal of the entire length of the vertical stop and the window trim. This is a downwards looking view - and I am pulling up in the picture. Ideally, you should pull down and reduce the risk of injury. Remember at this stage you are just breaking the paint seals - not removing the stop. |
 |
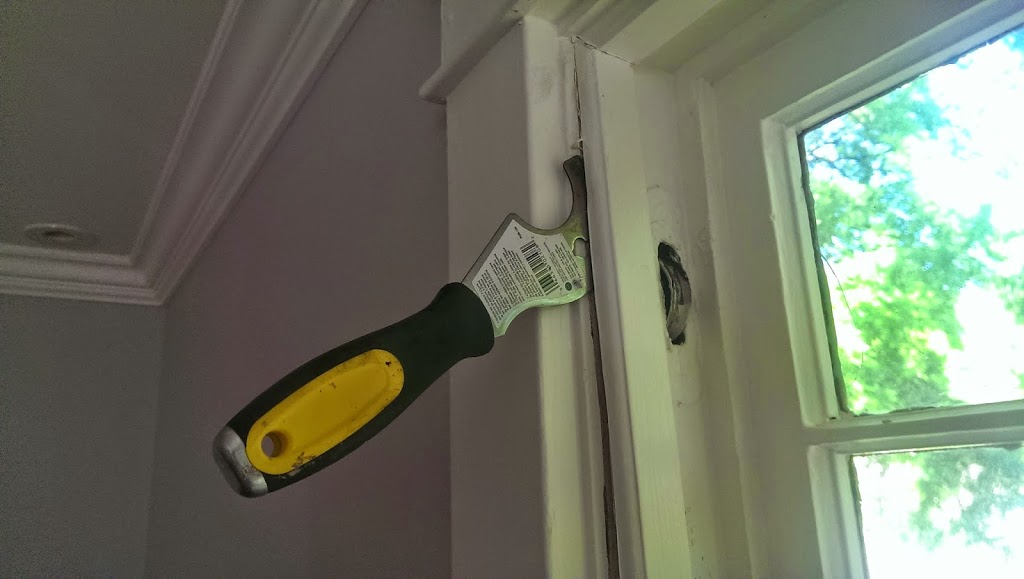
Using your thinnest scrapper, work the scrapper into and then slightly widen the gap between the stop and the window trim and as you go deeper into the window casing. |
 |
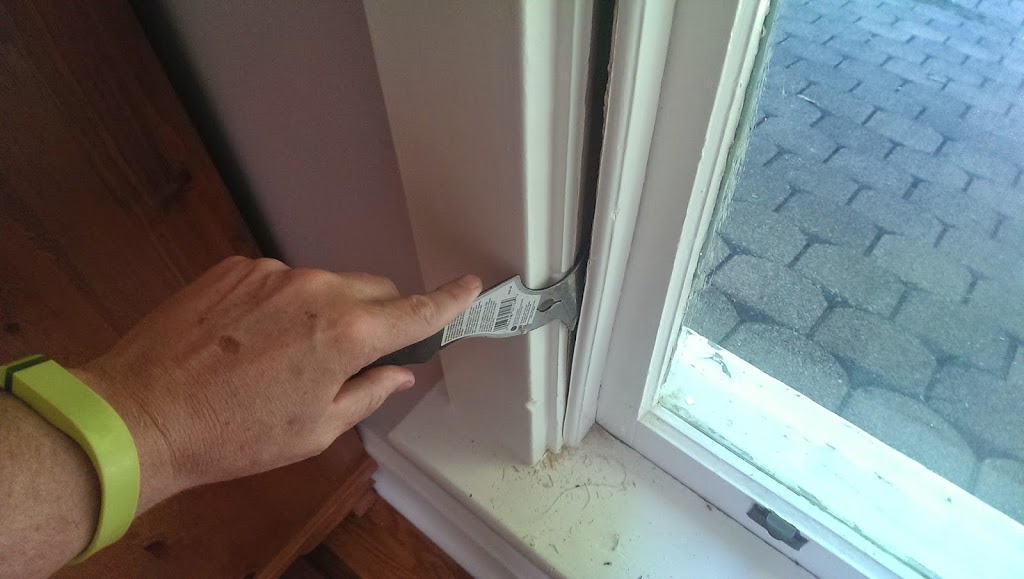
Using a more sturdy scrapper - I am using a 9-1 painting tool in this picture - begin to lever the stop away from the window casing. At this stage do not force the stop away from the casing. |
 |
With your sturdiest scrapper work the entire vertical length of the stop away from the window trim and casing . Taking care to identify where there are 4 or 5 finishing nails that fasten the stop to the casing. There will likely be an important nail at the top and the bottom that you should treat with extra care. Carefully remove those nails or if you like leave them in place and have them removed as you ease the stop off the window. |
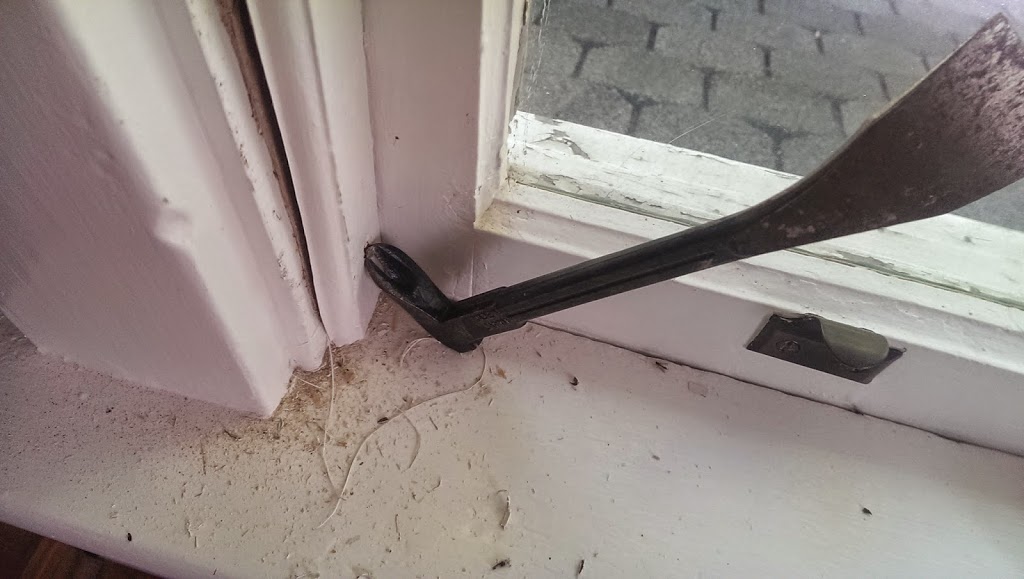 |
Using either a small hammer - or in this case a small restorers cat's paw tool - remove the bottom and top nails that keep the stop in place. You'll have 2 or 3 other nails you'll need to take care of as well. |
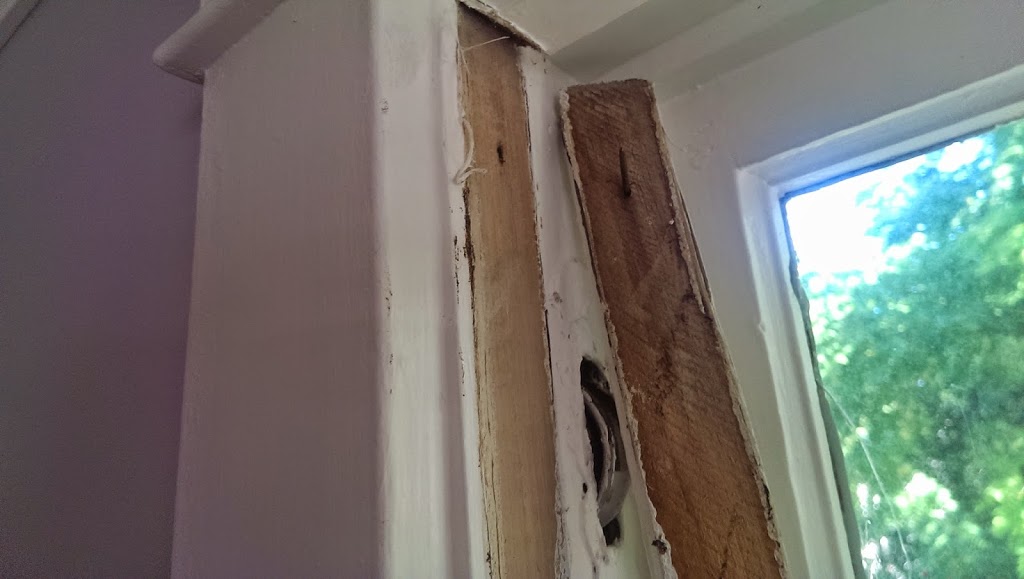 |
and finally remove the stop piece, in one segment and store safely out of the way. You'll want to reinsert this piece, using the same nails holes, fastened precisely in the same spot when you are putting this all back together. |