Options for Replacing Sash Cords
The next few steps may be the fussiest. Our goal is to rehang the sash weight inside the sash wells connected to a new piece of sash cord, strung over top of the pulleys and connected once again to the windows.
Some clean up and prep work first on the window we pulled out earlier.
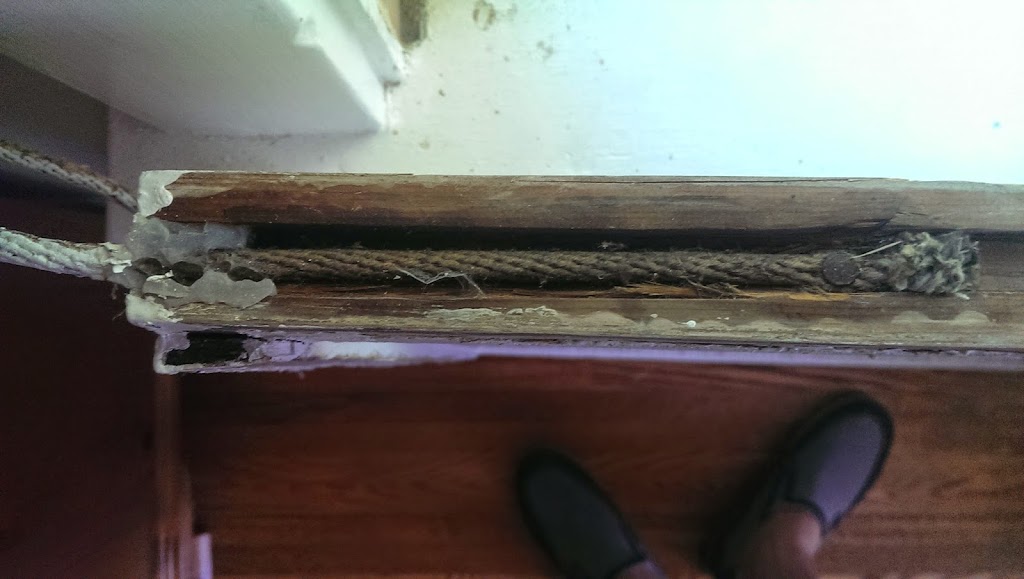 |
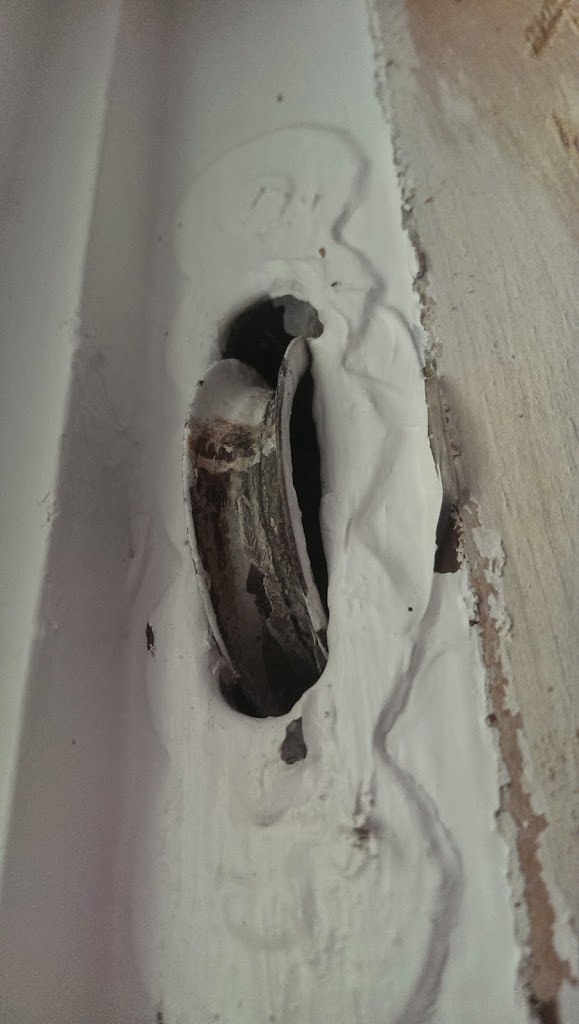
Here is a quick look at how the window is connected to the sash cord. I've highlighted the top portion of the window where a small channel houses the window end of the sash cord that is attached at the by two small finish nails. We need to remove and save these names and then clean up this channel - it has some old caulking or silicon at the top - likely put there to enhance insulation but now also hindering the movement of the sash cord. Definitely getting in the way of new sash cord.
|
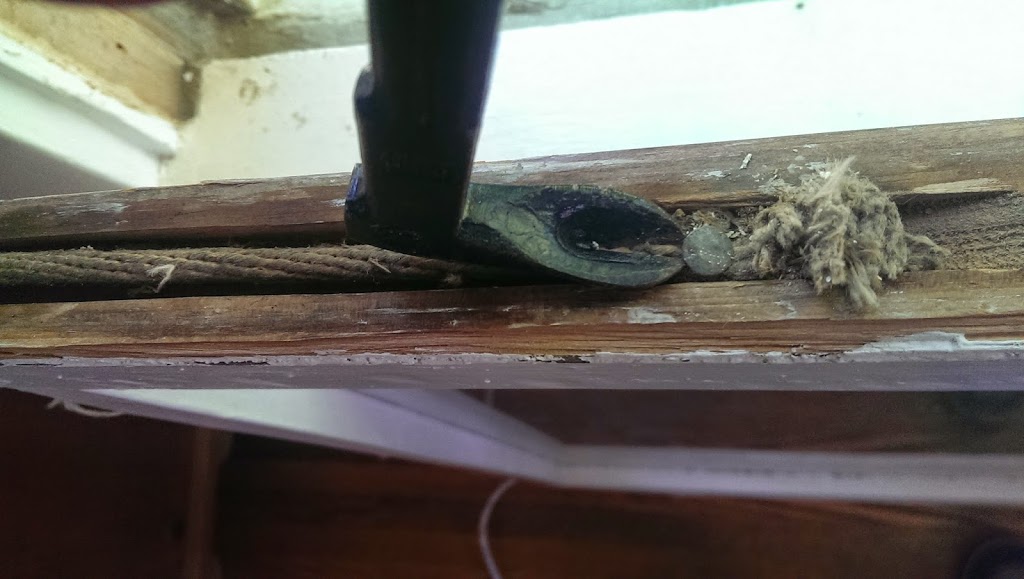 |
using my cats paw to remove the nails that attach the sash cord to the window
|
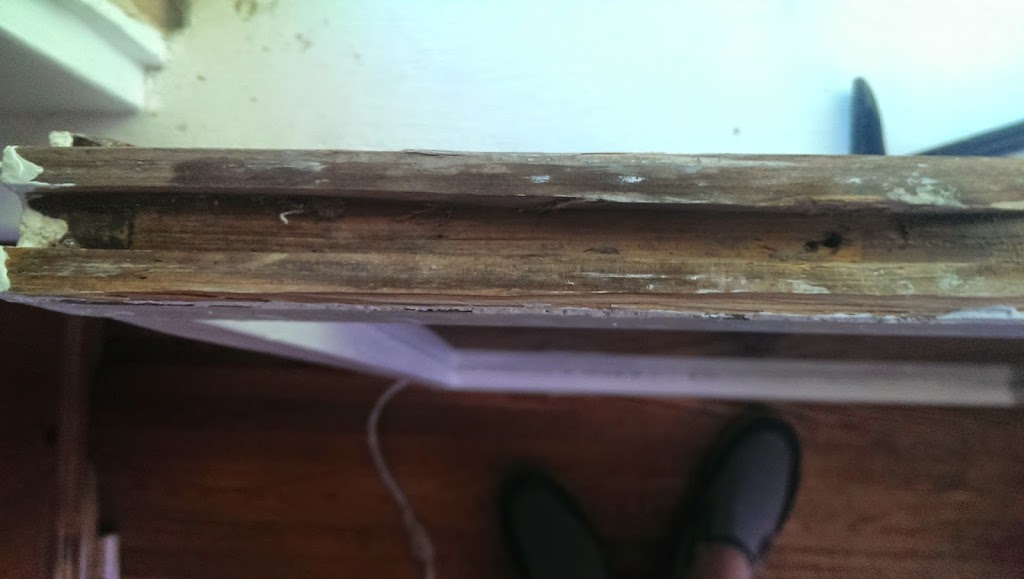 |
a window with cash cord, nails and much of the previous caulking removed.
|
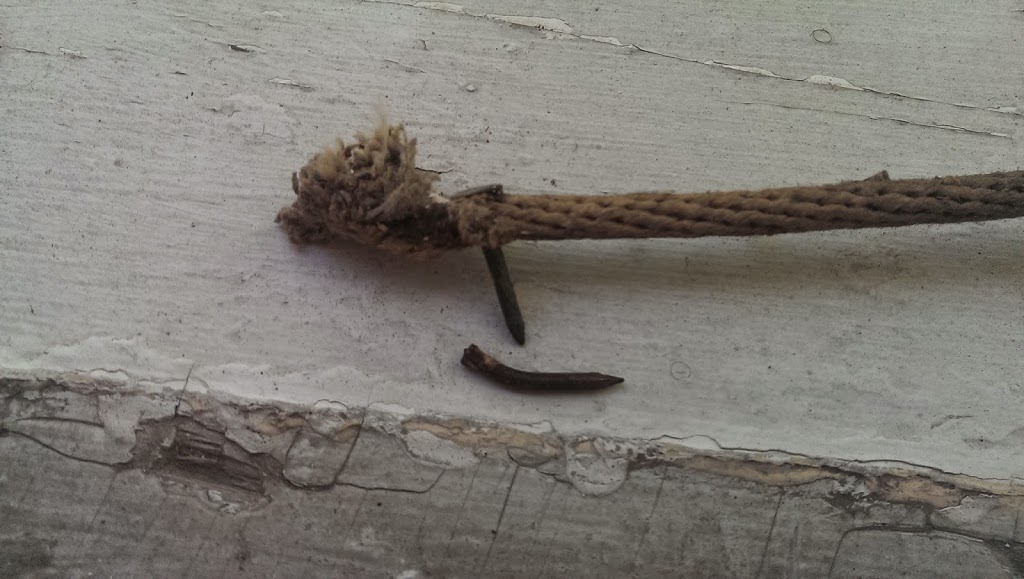 |
note how the nail is fastened directly through the sash cord, i've held on to the second nail as well - its got the right size head and will fit in the existing nail hole. Its actually fairly difficult to weave a nail through a tightly wound sash cord - my recommendation is to try and keep the nail in the cord during the removal process. Here i was 50% successful.
Some clean up on the pulleys is often required. In my case they've been painted over a few times, clogged a bit with some insulating silicon and look like heck. We can spend 15 minutes and get them to much better working condition.
|
 |
one of the pulleys, a scallop design that will become clearer once we get the paint removed. Note the big glob of silicon on the top of the pulley - this really gums up the mechanism. Needs to be removed.
|